When a donor completes their donation by clicking the 'Make Donation' page at the bottom of the Donation page, eDenari will take them to a Confirmation Page. This is your opportunity to thank them for their donation and give them an opportunity to expand their support. A confirmation page is required and you must link the Donation Page to a Confirmation Page.
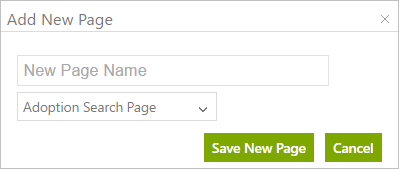
To create a Confirmation Page, click the Pages tab. Click Add New Page.
Give the page a Name and then, in the drop down field, choose Confirmation Page. Click Save New Page and that will return you to the list of pages. Click the Edit button next to your new page to finish the layout.
From this point forward, the page layout process is the same as the
Donation Page except that there are different controls available for this page.
The
Company Controls section on the left gives you the
Banner and
Banner Logo that pull in that information from the
Company Setup page.
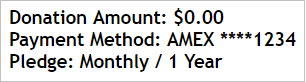
The Donation Controls section give you the Confirmation control.
It verifies the amount, payment method, and if the donation was a pledge or on-going donation it will show that as well.
The Giving Option Controls section gives you three controls, Giving Option Description, Giving Option Image, and Giving Option Title. They are the same controls found on the Donation Page. They pull in that information from the giving option linked to this donation.
The
P2P Appeal Controls (Peer to Peer) section gives you the
P2P Appeal Name,
P2P Appeal Photo,
P2P Appeal Social Share, and
P2P Appeal Vision. A Peer To Peer Campaign gives your donors the ability to set themselves up as fundraisers for your organizaton and is covered in more detail in the
Peer To Peer Page section. If a donation is a P2P donation, the Name, Photo and Vision of the fundraiser here serves as a reminder of the donation. The Social Share control puts social networking links on the page to allow the donor to expand your fundraising efforts by posting to their own pages to share with friends.
Generic Controls
In addition to the Confirmation Page specific types of controls you also have Generic Text, Generic Image, Generic Line, Generic Link, and Generic Expaner. These all work in the same way as those found on the
Donation Page and you can check them out there. However, it is likely that you will want to add a message to your donors to the Confirmation Page and to do that you can use the Generic Text control.
Generic Text: You can add text by clicking the Add button next to the Generic Text control. It will appear in the upper left and you can drag it to where you want it on the page. Now right click and choose Properties.
Click in the box and begin typing your text. A toolbar appears at the top to allow you to underline, bold, change fonts and colors, etc. just like you would in a word processor like Microsoft Word. Click Close to finish adding your text. Now you can format it further by right-clicking the control and choosing Edit HTML. You can change the size of the text box, align it left, center, or right, change the font style and size and also change the color of the text there. You can even add a background image to the text box.
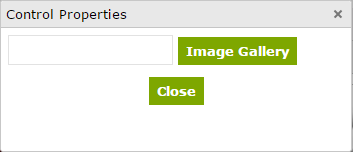
Generic Image: You can add an image or text as well. Click the Add button next to the Generic Image control to add that to the work area. It will appear in the upper left corner and you can drag it to where you want it to be. Now right-click on that control and choose Properties.
Click the Image Gallery button. You can select one of the images that are already in your library or you can click the Upload Additional Image button. You can then Browse and select the image you want to upload. Then click on it to select it and finally click Close. Notice that the image is scrunched into that original box. Right-click on the control and choose Edit HTML. Here you can set the height and width that we want for the photo. You can also drag the outline of the control to resize it that way as well. Now you can drag the control to any area of the page that looks best.
Generic Line: A Line is just a visual separator that you can use to create sections on the page. When you click to add a Generic Line, it appears on the page and you can drag it around and/or make it shorter or wider as needed.
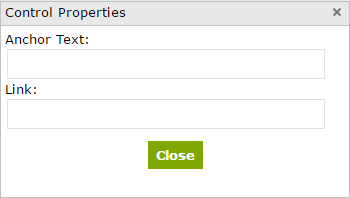
Generic Link: The Link allows you to put links to other web sites or web locations into your page. Click to add the Generic Link.
Enter the Anchor Text. This is the text that the donor will see on the page.
Enter the Link. This is the web page or email address for the link. When a donor clicks on the Anchor Text their browser will direct them to this page. You should enter it as http://www.website.com or mailto:email@domain.com.
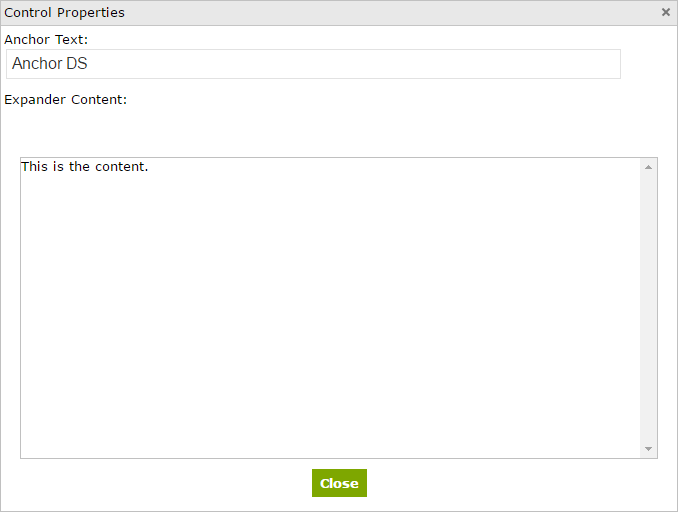
Generic Expander: Allows you to add text that when clicked on, expands and reveals more text. Click the button to add an Expander control to the page. Right-click on the control the Properties.
Enter the line that you want donors to see on the page in the Anchor Text field. Enter the text you want them to read in the Expander Content field and click Close. On the final web page, when a donor clicks on the Anchor text, the Expander text will pop up allowing them to read the full paragraph.
Once the confirmation page is set up the way you want, be sure to go back to your Donation Page to link that to the Confirmation Page. In that way, any donation to that donation page will direct your donor to the correct Confirmation page.